Add description, images, menus and links to your mega menu
A column with no settings can be used as a spacer
Link to your collections, sales and even external links
Add up to five columns
Add description, images, menus and links to your mega menu
A column with no settings can be used as a spacer
Link to your collections, sales and even external links
Add up to five columns
Add description, images, menus and links to your mega menu
A column with no settings can be used as a spacer
Link to your collections, sales and even external links
Add up to five columns
Add description, images, menus and links to your mega menu
A column with no settings can be used as a spacer
Link to your collections, sales and even external links
Add up to five columns

Cinnamon Rolls
September 25, 2023 3 min read
Cinnamon Rolls
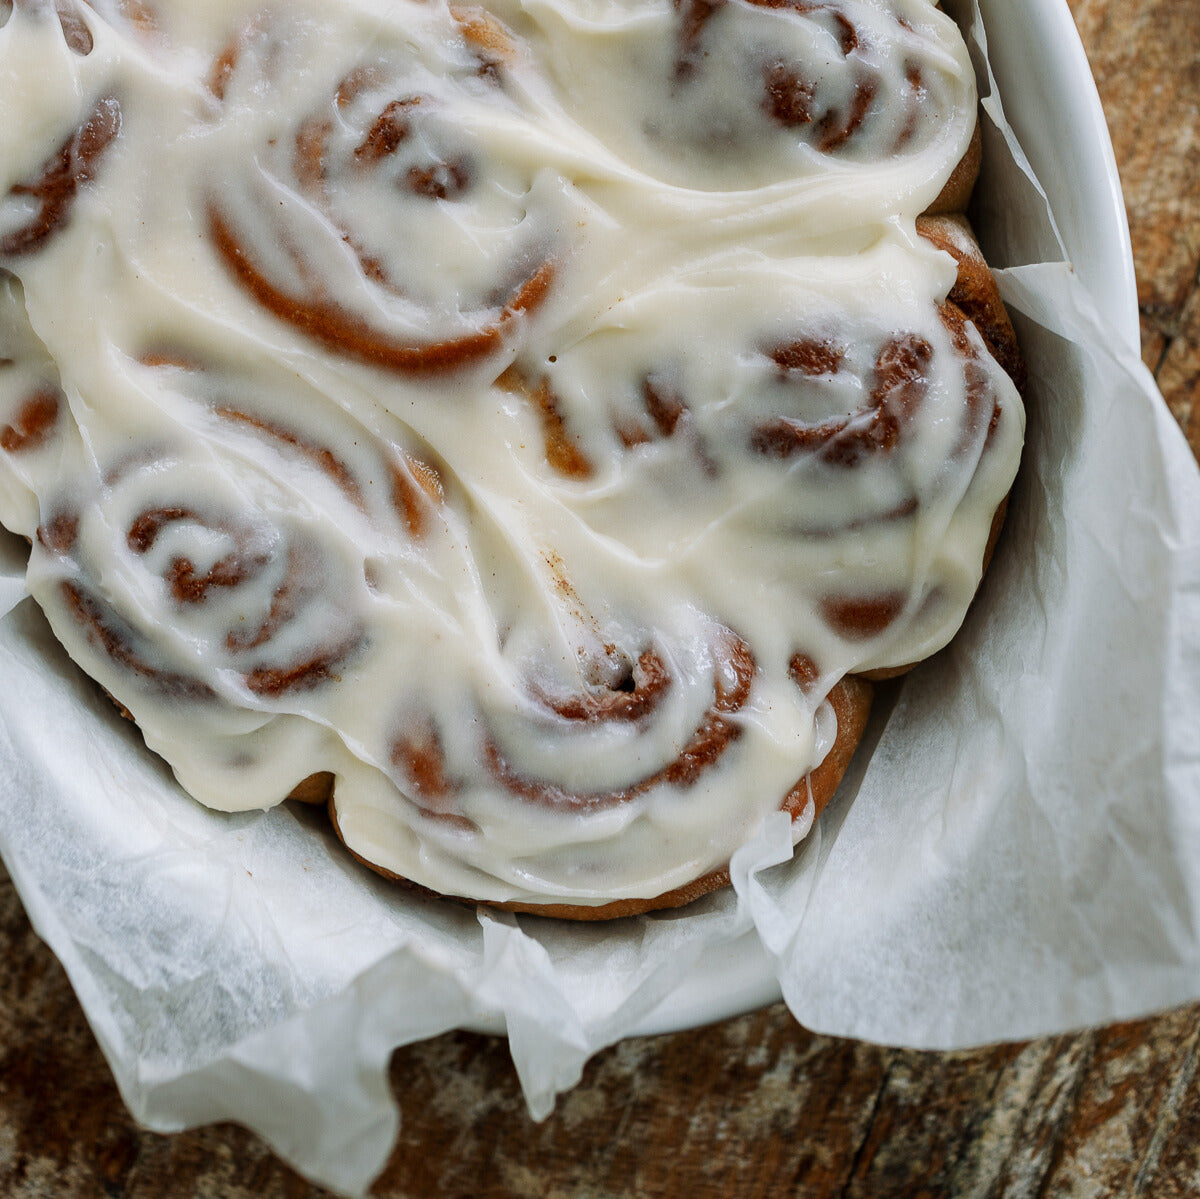
Does it get any better than warm, soft cinnamon rolls with a hot cup of coffee on a chilly morning? The aroma alone tantalizes the senses! Featuring our foolproof hard wheat flour Tam 105, this delightful cinnamon roll recipe may just become a new household favorite.
Yield: 12 cinnamon rolls
Download a printable version of the recipe here.
Ingredients:
360g BSM Tam 00 flour
30g sugar
10g instant yeast
4g salt
180g warm water
2 eggs (room temp)
70g grapeseed oil
40g cane syrup (Steen’s used here)
Filling:
113g butter (softened)
180g Light brown sugar
16g Cinnamon
4g Salt
pinches of cardamom
Icing:
225g cream cheese
200g confectioner’s sugar
10g milk
7g vanilla extract
2g salt
In a stand-up mixing bowl, combine all of the wet ingredients and the sugar. Whisk the wet ingredients just until mixed. Attached the dough hook to the mixer. In a separate bowl, combine the flour, yeast and salt. Add the dry mixture to the wet mixture, then mix on low for 2 min or until the dry becomes hydrated. Increase the speed to setting 6 and mix for 10-12 min or until you can perform a windowpane test. Note, this dough is somewhat sticky.
*Windowpane test* Grease the tips of your fingers with pan spray, then pull a piece of the dough. Begin to stretch the dough gently with your fingertips. If the dough allows you to stretch without tearing, and you can slightly see through the dough, this is what is known as a windowpane test. This ensures you have developed the gluten strength in your dough.
Place the dough in a greased bowl, then cover with plastic wrap. Allow the dough to bulk proof in a warm place for 1 ½ - 2 hours or until doubled in size. At this point, you can also place the covered dough in the fridge for an overnight bulk proof.
While the dough proofs, place the filling ingredients in the stand-up mixing bowl. Cream all of the filling ingredients together using the paddle attachment, then set aside.
Dust a work surface generously with flour, then roll the proofed dough into a 12X18 rectangle, adding flour as you go to prevent the dough from sticking. Spread the filling onto the dough evenly, leaving a 1-inch gap at the top that is parallel lengthwise to the surface. Using a dough scrapper, smear the 1-inch dough top into the table surface to create a seam as this will allow the log to seal itself. Start to roll the end closest to you firmly, making sure to keep the log tight as you roll towards the 1-inch seam. Bring the log towards you to center across the table.
Using a sharp knife, in a quick, yet safe downward motion, cut 1 ½ inch rolls from the log, then place the rolls onto a parchment-line casserole dish or tray that has been lightly greased with spray.
Allow the rolls to proof once more for about 1hr in a warm place. The tray of rolls can also be wrapped with sprayed plastic wrap and placed in the fridge overnight if wanting to bake in the morning.
Preheat an oven to 350°F. Check the rolls to make sure they have proofed by pressing the tip of your finger gently into the dough. If an indentation is left, they are ready. If it springs back, the rolls need more time to proof.
Bake the rolls for 18-20 min depending on your oven.
While the rolls bake, prepare your icing by mixing all of the icing ingredients together in a medium bowl. Vigorously whisk out any lumps that may have formed.
Allow the rolls to slightly cool before coating in icing. Enjoy the rolls while warm for best results, though can store in an airtight container until the next day.
