Add description, images, menus and links to your mega menu
A column with no settings can be used as a spacer
Link to your collections, sales and even external links
Add up to five columns
Add description, images, menus and links to your mega menu
A column with no settings can be used as a spacer
Link to your collections, sales and even external links
Add up to five columns
Add description, images, menus and links to your mega menu
A column with no settings can be used as a spacer
Link to your collections, sales and even external links
Add up to five columns
Add description, images, menus and links to your mega menu
A column with no settings can be used as a spacer
Link to your collections, sales and even external links
Add up to five columns
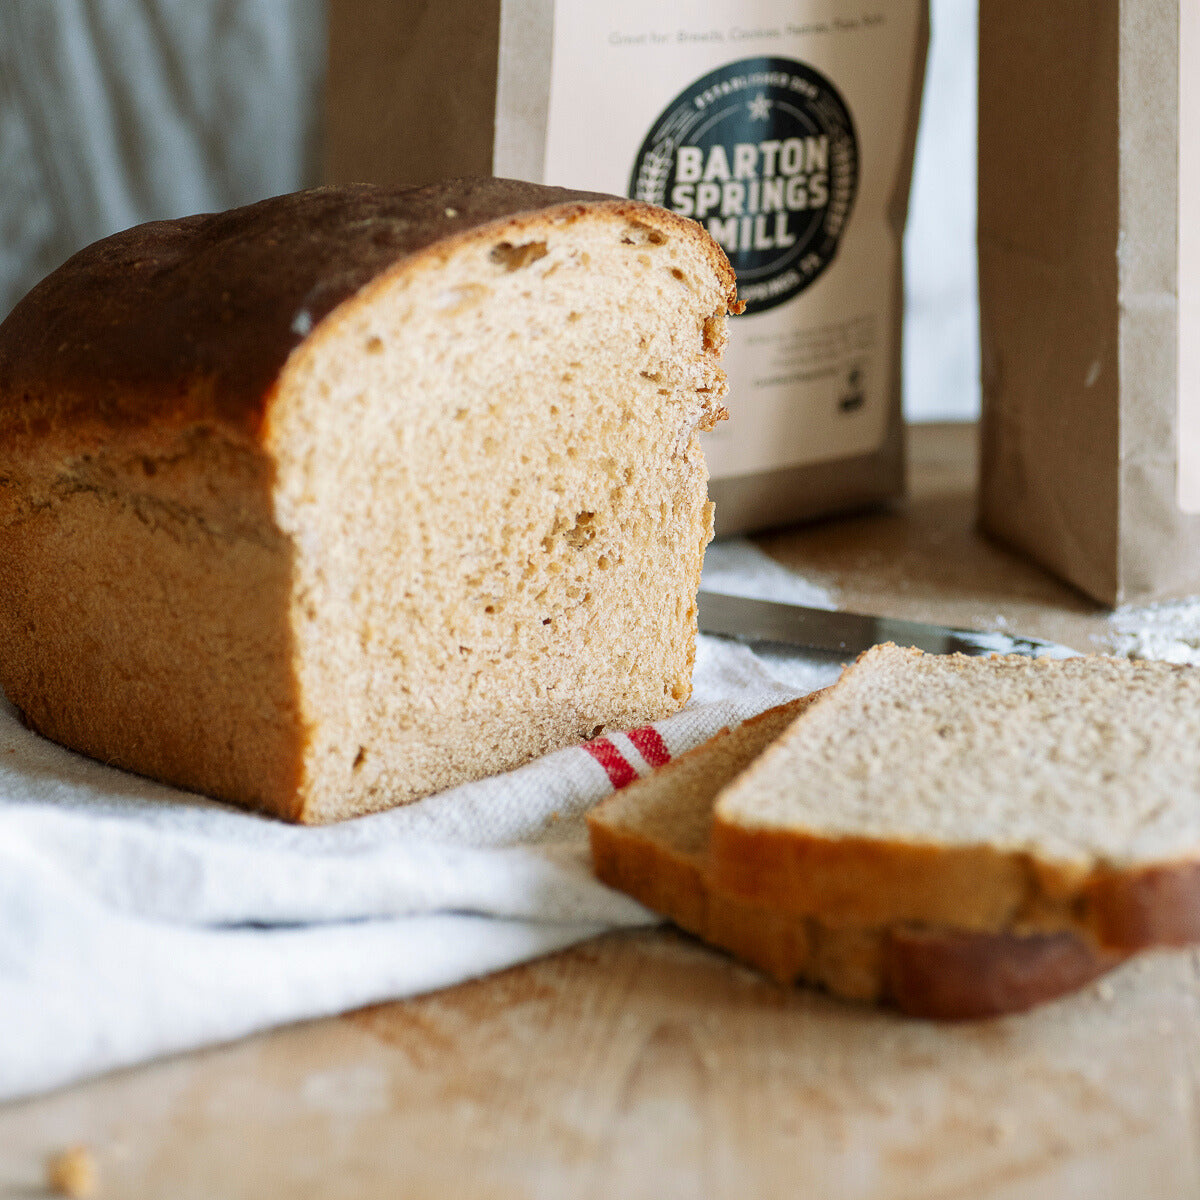

Einkorn Sandwich Bread
February 01, 2025 3 min read
Keep this sandwich loaf recipe using our organic ancient whole grain Einkorn, and organic Butler's gold 00 bread flour in your back pocket! This light and airy loaf is just what you want in a sandwich bread only with even more nutritional value thanks to Einkorn.
Be sure to check out our Ancient Grain bundle here!
Download a printable version of the recipe here.
Einkorn Sandwich Bread
Yield: 1 9-inch sandwich loaf
*This is a base sandwich loaf recipe to showcase the addition of an ancient grain that provides a boost in nutrition and flavor.
Ingredients:
180g BSM Butler’s Gold 00
7g dry instant yeast
10g fine sea salt
380g water (76F)
50g dark brown sugar
45g olive oil
Method:
In the bowl of a stand-up mixer, combine the brown sugar, instant yeast, water, and olive oil. Mix with a whisk until just dissolved.
In a separate bowl, combine the two flours and salt. Attach the dough hook and add the flour mixture to the wet mixture. Turn the mixer on low-medium to allow the dry ingredients to hydrate for about 2 min. Scrape the sides of the bowl to incorporate the remaining flour along the sides of the bowl. Bump the mixer to medium speed (about 4 on a KitchenAid) and allow the dough to knead for 5-6 min. The dough will stick somewhat to the sides of the bowl, but there should be visible gluten development with a windowpane test. Spray the tips of your fingers with pan spray, pull a piece of the dough and begin to stretch the dough gently. The dough should stretch without tearing, and will create a translucent “window” in the center. This is known as a “windowpane” test that checks for gluten strength in the dough. If the dough tears, it needs more time kneading to develop gluten strength.
*Note: This is a sticky dough in the beginning that will become easier to work with as the dough hydrates during the bulk fermentation.
Once the dough has developed proper gluten strength, scrape the dough into a large bowl that is sprayed with pan spray. Begin to do stretch and folds from the edges of the dough ball, up and inward towards the center of the dough. Do this repeatedly around the circumference of the dough for about 45 sec. See video short for stretch and fold example.
Reverse the dough ball seam side down. Lastly, do two coil folds. See video short for coil fold example.
Cover the bowl with plastic wrap, and allow to proof. If proofing in an oven with a proof setting (generally 95°F), proof for one hour or until doubled in size. If proofing at room temperature (75°F is best), proof for two hours or until doubled in size.
Spray a standard loaf pan with pan spray. Dust a work surface moderately with flour. Remove the dough from the bowl, and stretch the dough out into a roughly 10x12 rectangle. Use flour as needed to prevent from sticking, but not too much. Fold the edges of the dough inward by about three inches starting from each end length wise. With the width end closest to you, begin to roll the dough away from you while gently tugging the dough to keep it somewhat tight as you go. Once the dough is rolled, pinch the ends inward and under the dough log.
Create a seam by using surface tension. To achieve this, you will slightly cup both of your hands along the back edge of the dough width wise, then drag the dough edge down by pressing back towards you. The tension will then seal the dough from underneath. Using a bench knife or dough scraper, reverse and lift the dough off the work surface and into the baking pan seam side down. Cover with plastic wrap that has been lightly sprayed with pan spray to prevent sticking.
Proof once more for 30 min or until the top of the dough has just barely risen above the edge of the pan. Preheat the oven to 350°F during the proofing time to ensure it is at the correct temperature by the time the loaf is ready to bake.
Bake for 45 min or until the internal temperature reaches at least 195°F. Remove the loaf from the pan, and allow to cool on a cookie rack to prevent the bottom from getting soggy due to steam leaving the loaf.
Allow to cool completely before slicing with a serrated knife. Enjoy as is or for sandwiches and toast! Wrap and place in a bread box to keep for up to 5 days at room temperature. Or wrap with plastic and store in the fridge for up to two weeks. Freeze for up to two months.