Add description, images, menus and links to your mega menu
A column with no settings can be used as a spacer
Link to your collections, sales and even external links
Add up to five columns
Add description, images, menus and links to your mega menu
A column with no settings can be used as a spacer
Link to your collections, sales and even external links
Add up to five columns
Add description, images, menus and links to your mega menu
A column with no settings can be used as a spacer
Link to your collections, sales and even external links
Add up to five columns
Add description, images, menus and links to your mega menu
A column with no settings can be used as a spacer
Link to your collections, sales and even external links
Add up to five columns
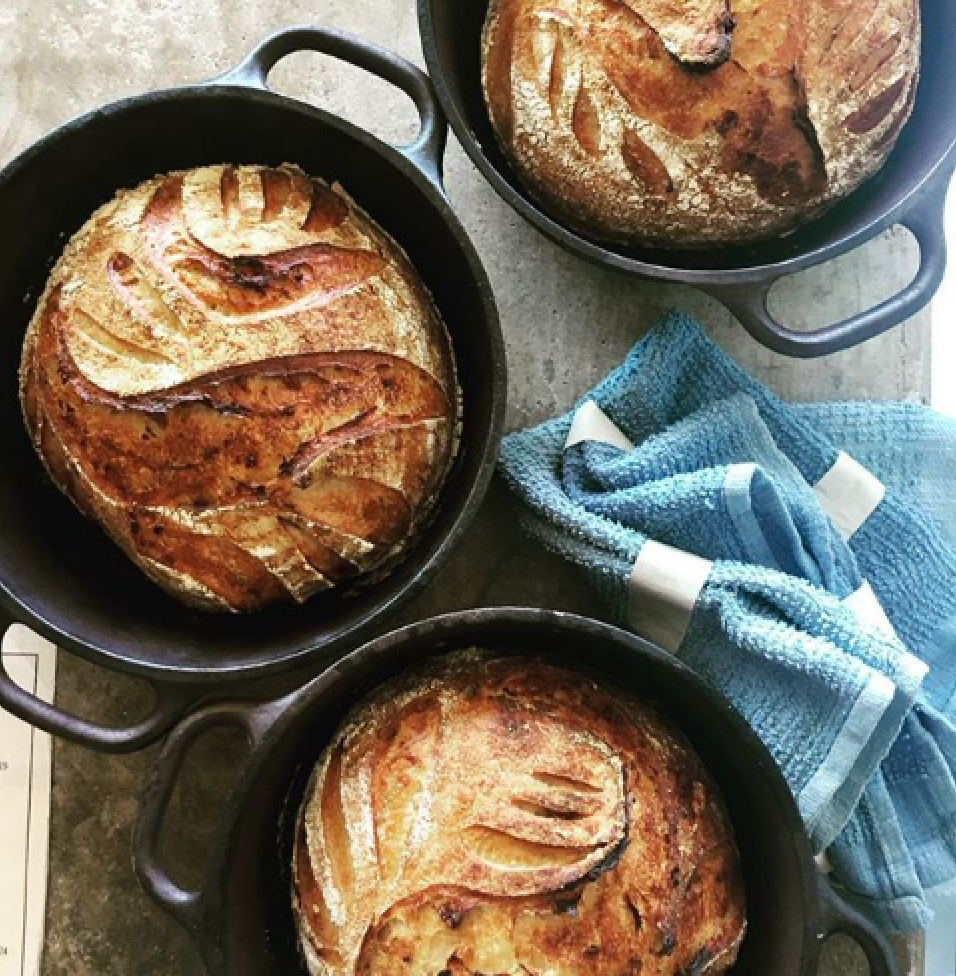

Naturally Leavened Sourdough Bread (with video!)
June 19, 2020 6 min read
NOTE: Abby uses Ruby Lee '00' in this video. We do not offer Ruby Lee Wheat anymore, so we recommend replacing it with any of these flours in '00': Yecora Rojo, TAM 105, Rouge de Bordeaux, or Butler's Gold.
Wondering how exactly to make sourdough with stone-milled flours? You've come to the right place! For the best results, we recommend measuring by weight with a scale. Be sure to check out our bread flours bundle! Need help with you sourdough starter? We've got you! Make your first starter here and troubleshoot it here.
Click here for a printable version of this recipe.
|
Ingredients |
Volume |
Weight |
Percentage |
|
Warm Water (~100°) |
1½ cups |
345 g |
75% |
|
Sourdough Starter |
⅓ cup |
70 g |
15% |
|
Flour of your choice (room temp – 65°-70°) |
3½ cups |
460 g |
100% |
|
Sea Salt, preferably fine grind |
1½ tsps |
10 g |
2.2% |
THE BASICS
- Combine water and starter in a large bowl.
- Add flour and salt, mixing well until fully hydrated ( until no dry bits of flour remain).
- Let rest, uncovered, for 20 minutes, and then knead 5-7 minutes using Rubaud method (see video).
- Cover loosely with damp towel for 31/2 to 4 hours total of bulk fermentation. Every 30-45 minutes, fold the dough (see video) to strengthen the gluten.
- After the final rest of 30-45 minutes, place a small chunk of dough in a cup of water for a float test. If it floats, it’s ready for shaping. If not, fold again and let rest another 30-45 minutes.
- To shape the dough (see video), scrape it onto a clean counter and use a bench scraper to pull the sides of the dough around to form a compact ball. Let rest 15-20 minutes.
- Heavily flour a kitchen towel or banneton with flour; rice flour works particularly well.
- Dust the dough with bread flour, and then flip over and “stitch” the dough (see video), folding the dough in on itself until it looks like a little papoose.
- Place seam-side up in the floured banneton or bowl. Cover with plastic and let rest 30-45 minutes at room temperature and bake immediately, or refrigerate overnight.
- When ready to bake, preheat the oven and a Dutch oven or heavy lidded pot to the highest temperature possible.
- Transfer the dough from the bannetons into the hot Dutch oven, seam-side down. (Be careful!) Score the dough, cover, and return to the oven.
- Reduce the temperature to 475 and bake for 20 minutes. Remove the lid and reduce heat to 450. Bake for 20 minutes more.
- Cool well before slicing, ideally up to 24 hours.
THE DETAILS
Getting Started
To make sourdough bread, the only ingredients you need are flour, water, salt, and a ripe and ready starter. If you don’t already have your starter, see here for our how-to videos and instructions on creating and maintaining a starter. Not sure which flour to use? All of our hard wheats are bread flours. Be sure to watch Abby’s video on choosing flours.
If you do have your starter, feed it at least 6 hours before beginning this recipe so that you have at least 130g (¾ cup) of active starter ready for the bread, leaving you with about 60g to maintain.
Combine Ingredients
Once your starter is ready to go, add the water to a large mixing bow. Using wet hands (to help keep the starter from sticking), add 70g of the sourdough starter to the water, and lightly mix with your hands to break up the starter.
Kneading Dough—Rubaud Method
Add the flour and salt, mixing with your hand or a wooden spoon, until the ingredients are well combined and all the flour is hydrated, with no dry spots remaining. Let rest, uncovered, for 20 minutes, and then knead for 5-7 minutes using the Rubaud method (see video): Using your hand as a paddle—fingers together, hand flat— and with the mixing bowl pressed against you to stabilize it, scoop up the dough toward you and then pull it back. Scoop up to side of bowl, pull back. Scoop up, pull back. Once you get going, it’ll make a slapping sound of dough against the bowl. Do this for 5 to 7 minutes total, resting your arm as needed.
Bulk Fermentation
Transfer the dough to a clean bowl. Cover loosely with damp towel for 31/2 to 4 hours total of bulk fermentation. You’ll be folding the dough (see video) to strengthen the gluten every 30-45 minutes.
To start, let the covered dough rest in a warm place for 30-45 to start the process. It will rest and relax. As you work through each stage of the bulk fermentation process, you want to see the dough becoming more relaxed and also more firm. If it seems loose, the strands of gluten need strengthening, which is helped along by the folding.
Folding
After 30-45 minutes, stretch and fold the dough with a “coil” fold : Dampen your hands and release the dough all the way around the bowl or the length of the bin. This redistributes the temperature and begins to strengthen the gluten. Lift up the dough from the edges and let it fall underneath itself. Turn the bowl or bin and repeat in the other direction.
Cover and let rest another 30-45 minutes. Dampen hands and release the dough from the edges. Scoop up one side and fold it over the rest of the dough. Turn and repeat until you’ve folded over each side.
Cover and let rest for 30-45 minutes. The dough should be totally relaxed, yet stable. Dampen hands and lift up the dough and let it fold underneath (like the coil fold earlier), and continue on each side. If it seems loose or slack or runny, then do some additional folds. Cover and set aside for a final rest.
Testing Dough
After 31/2 hours, it’s getting time to shape your dough. You’re looking for a lively dough, puffy dough, one that has visibly expanded in size. You also can try a float test: pinch off a small chunk of dough without deflating it. Drop into a cup of water. If it floats, the fermentation has produced enough gas, and it’s ready to shape. If not, fold again and let rest another 30-45 minutes.
**At this point you may shape and bake the dough, or store it in the refrigerator overnight and then bake.**
First Shaping
To shape, release the dough from the pan and pour the dough out onto a clean surface. You may see bubbles along the bottom of the dough; this is good. To add more structure and strength to the dough, use the flat side of a bench scraper to pull the sides around to form a compact sphere (see video). Let rest another 15-20 minutes before forming the final shape.
Heavily flour a banneton or a kitchen towel lining a bowl. (It should be significantly more flour than a light dusting for a cake pan.) Rice flour is ideal, but any flour will work.
Second Shaping
Lightly sprinkle some bread flour on the top of the loaves, spreading and dusting with your hand. Flip over and then stitch the dough (see video): take the bottom end of the dough and pull toward you, and then fold up ½ to 1/3 of the way like a letter. Next, pull two tabs out from the sides and fold back over themselves in the middle, and then pull the top portion over to meet the middle. Take the top corner and pull them up like ears and fold them diagonally down across each other. Repeat that motion all the way down the dough until you’ve got a little papoose of dough. Finally, take the top tab and bring it down to the middle, and then take the top of the roll and bring it all the way down to the bottom of the dough to form a secure sphere. Place seam-side up in the prepared banneton or bowl.
Scoring and Baking
Cover with plastic and let rest 30-45 at room temperature while the oven heats. Or, for a more pronounced sour flavor, let rest at room temperature for an hour and then refrigerate overnight.
Preheat the oven and a Dutch oven or heavy lidded pot to the highest temperature possible, for at least 45 minutes or longer, until everything is hot throughout.
Release the dough from the bannetons and invert the dough, seam-side down, into the pre-heated Dutch oven. (Careful!) Score the dough with a lam or sharp knife so that the steam and gas can escape as it’s baking. Cover and return to the oven.
Reduce the heat to 475° and bake for 20 minutes. Remove the lid and reduce the heat to 450°. Bake for 20 minutes more. Cool well before slicing, ideally up to 24 hours.